It really needs a coat of paint, but that is not what we did. It will happen in the future, just not yet!
He decided that it really needed a bit more landscaping around it.
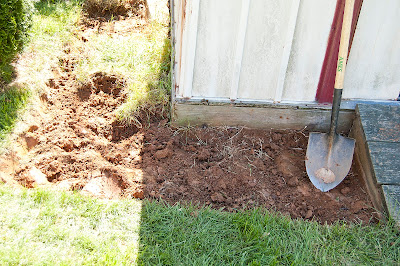
First, he dug around the front and sides the shape of the bed that he wanted. This is easier with a square shovel, but we don't have one, so he made do with the one in the pic!
Here she is with the bed shape dug out.
Then he let me place the plant variety that he bought how I wanted them.
The next step was to get the edges straight in the back and then lay out the edging.
Edging is important! It helps to define the bed and keep weeds and grass out!

He carefully lined the edging along the side of the bed and drive edging steaks into it. This helps to hold it in place.
Here is the other side of the ramp with the edging down.
Next he put down underlayment weed guard. This helps keep the weeds from coming up from the bottom.
He cut holes for the plants (with potting soil under them). Once the plants were in he filled around them with black mulch.
Here is the left side of the shed with the underlayment.
And the finished product!
It made the shed look so much nicer! Someday soon (probably not soon) we will paint it so that it looks better itself, but for now its spruced up by its surroundings!


Wow You have done beautiful project. You take care of best your plant. Also Its look too good and colourful.
ReplyDeleteThe shed looks great with the pretty planted flowers framing it. Great job. Good luck on your giveaway cute stuff. Thanks for stopping by COM. winks, jen
ReplyDelete